This was a big undertaking. Not only was I replacing the cabinets, but I updated the electrical wiring to meet the current electrical code. That alone took more time than anything else. I spent countless hours wriggling around the crawlspace running wire and installing new circuits. The wiring easily took more time to complete than everything else combined. I installed most of the cabinets by myself, with some occasional help from my buddies with some of the more precarious cabinet installations. It's amazing what a single person can do with a few 2x4s and some creative balancing.
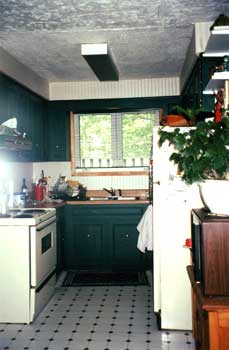
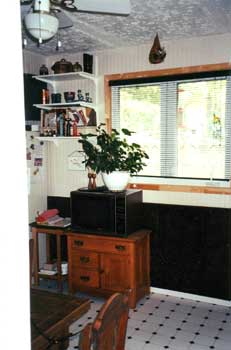
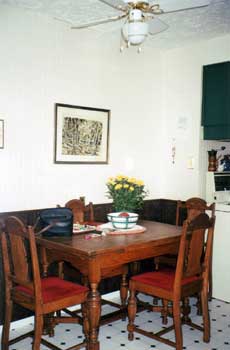
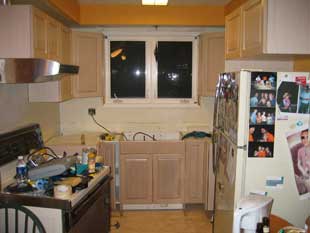
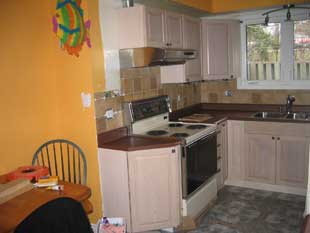
Here's some pictures of what the kitchen looked like before I moved in in 1999. Not really all that bad, but quite dated.
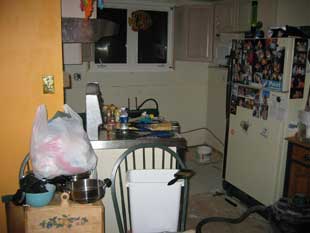
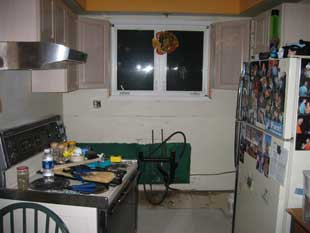
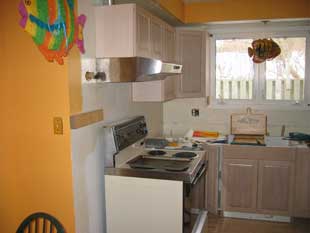
I started destroying the old kitchen in early March 2003. Unfortunately, I didn't take very many pictures of the work in progress. Most of the time it just didn't occur to me. I was too tired most of the time to even think about documenting the progress.
I did the reno in several stages. First I removed the old upper cabinets and installed the new ones without removing the bottom ones. This allowed me to keep using the existing cabinets to store stuff without having to move everything to another part of the house. Then I removed the lower cabinets and installed the new ones. This made installing the countertop quite a challenge, but thanks to Sam's monkey-like arms, we were able to get it in place without too much difficulty. I was able to continue using the kitchen throughout the project, but since most of my meals take very little time and prep work, it wasn't that big a deal.
The bulk of the work was done by the middle of April 2003. The cabinet that was supposed to go over the left side of the stove was manufactured incorrectly and it took The Building Box nine months to get the corrected version to me. I wasn't able to finish the detailing until that was installed, but to be honest, it didn't really set me back that much. I was working in Ottawa for the summer and my weekends were not going to be spent indoors.
It took me quite a while to finish the detailing (the cabinet valence over the upper cabinets) because I had to figure out how to properly install it in the tight area I had. I ended up using standard crown moulding as the valence because the typical valence wouldn't fit. I managed to bleach the wood to match the cabinets quite nicely. I finally finished that bit of work in the fall of 2004.
 |
 |
|
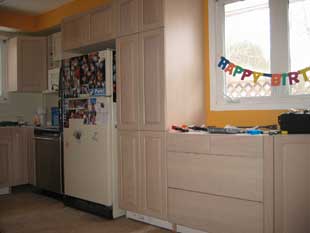
The upper cabinets installed and the lower ones removed. |
|
 |
 |
|
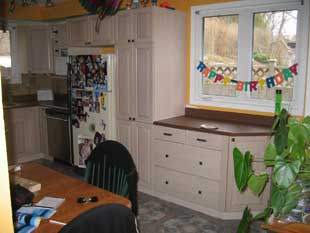
Most of the cabinets installed and waiting for the counter installation |
|
 |
 |
|
More views |
|
 |
 |
|
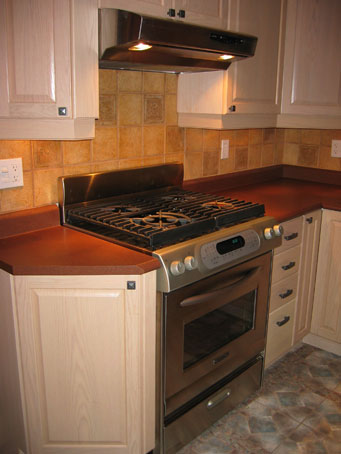
Mostly finished except for the header over the upper cabinets and the upper corner cabinet. |
|
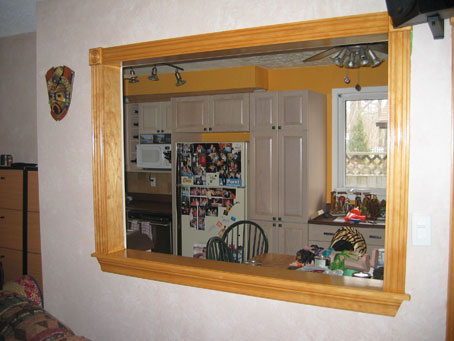
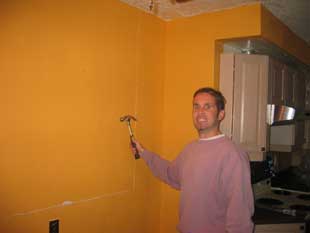
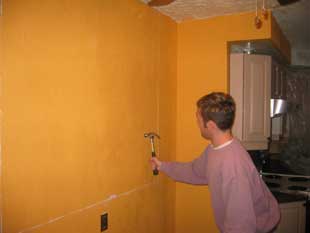
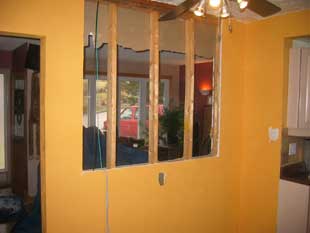
In the winter of 2004, I opened things up by knocking a hole in the wall between the kitchen and living room. It was the best thing I've done, because it really did make a big difference in the overall feel of the place. Lynn's brother Tom came over to help, because he's an expert on holes.
 |
 |
|
Getting ready for the best part of renovating...DESTRUCTION!!!! |
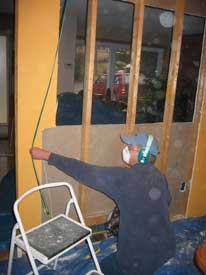
You can almost feel the thunderous power of Ken's hammer, otherwise known as Thor's Hammer. |
 |
 |
|
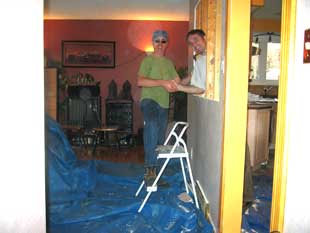
Shaking hands across the hole. |
Kinda looks like jail. |
 |
 |
 |
|
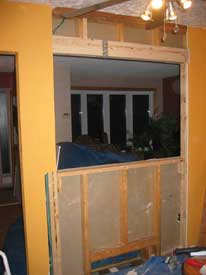
Re-routing wires. |
Just before the drywall went up. |
After the drywall went up. |
|
|
|
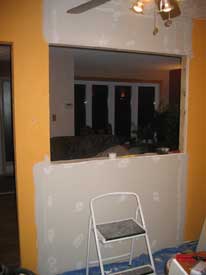
The finished hole |
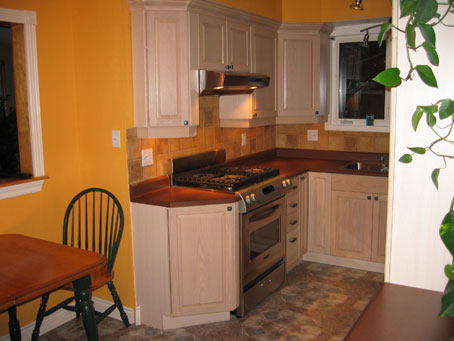
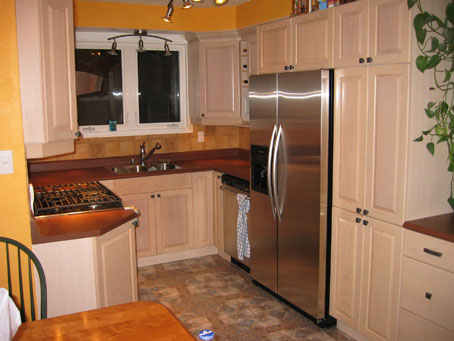
I was pretty satisfied with the finished kitchen, but it wasn't until I decided to get new appliances at the end of 2004 that the kitchen was REALLY done. The new stove is natural gas powered, and the fridge is a counter-depth version that almost looks like a built-in. It's a sweet setup, and I never have to worry about running out of ice when everyone comes over for drinks!
 |
 |
|
|
|
|
|
|